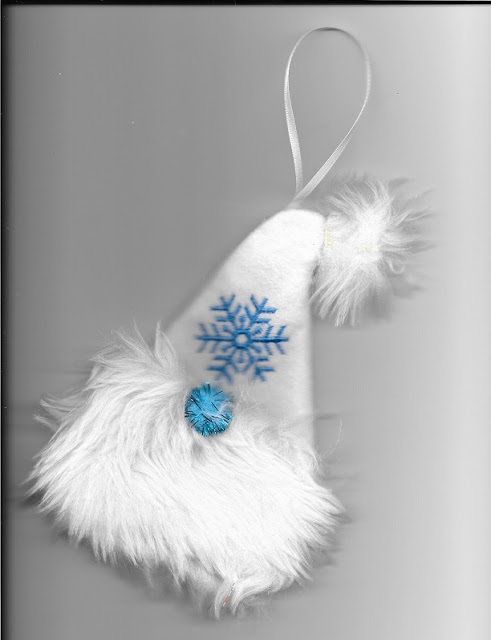
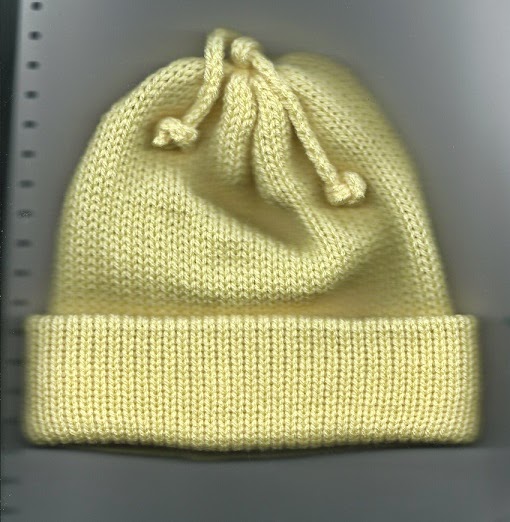
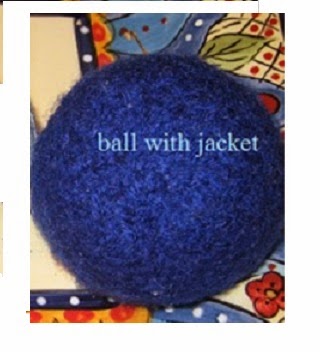
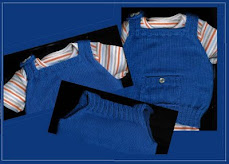
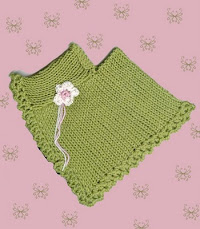
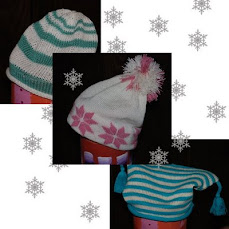
I think I am up to 40 now. They really do go fast and it's a nice project to seam while watching a movie.
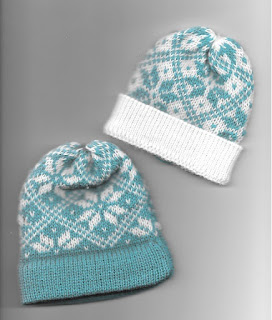
A few years ago I purchased several cones of really skinny yarn. I think I thought I was going to use it for double bed jacquard. Sadly learning that technique is still on my bucket list. So the size of the yarn is why the gauge is what it is. These are done on a standard gauge machine.
Directions- in case you have some really skinny yarn too. For the blue main yarn version.
Gauge 8 stitches and 10 rows = 1 inch on the patterned portion, not including cuff.
1. Cast on 72 stitches with waste yarn every other needle by knitting one row. Hang the cast on comb and some claw weights.
2. Pull the other needles to work and knit about 5 more rows of waste yarn. (I like to use a loose tension for the waste yarn and for the first row of main yarn so that the stitches are easy to see and pick up.)
3. Change to main yarn, Knit one row at a loose tension then change to tension 3 , knit as many rows as you want for half the cuff. I did 14. Change to Tension 5 and knit 14 rows.
4. Remove the comb and weights. Hang the hem. Put some claw weights on again.
6. Set up the fairisle pattern. Knit 40 rows at Tension 7 and cut a 12" yarn tail.
7. Take the stitches off on this yarn tail. Cinch up the stitches. If you think the hole is too large, sew across a few times north- south and east- west. Then mattress stitch the seam.
I didn't put any pom pom or bow on the top of these. I thought they looked fine as is.
Remove the waste yarn and you're done. Aren't they cute? Somehow little tiny knit things make you smile.
Notes: By drastically changing tension on the hem and also the main part of the hat you have a nice hem that lays flat, I don't reduce the number of stitches on the last row to save time. It looks ok to me. If you want, you could decrease the stitches across. Although I like wool yarn, acrylic seems a better choice for laundering and softness.
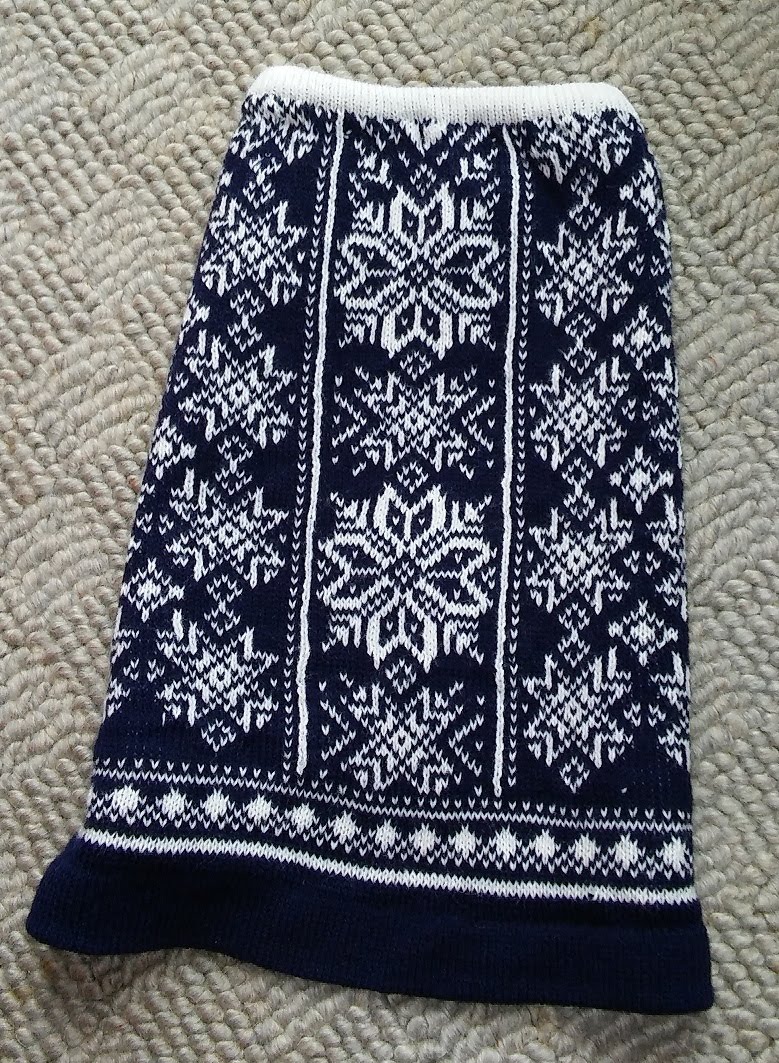
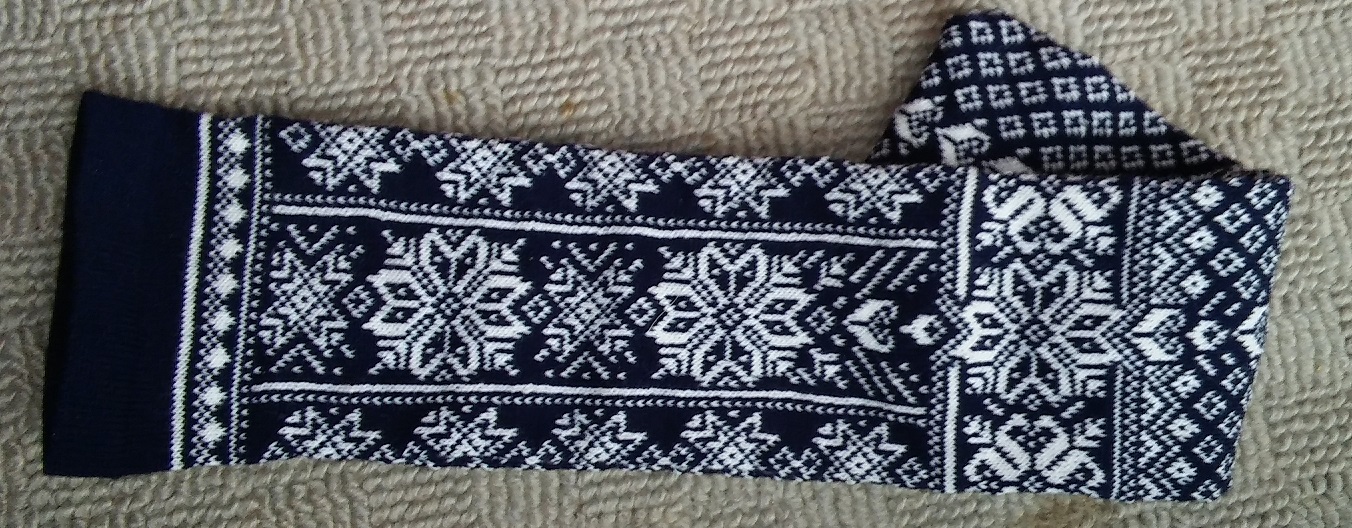
Here is the stitch pattern.It would work with a 24 st punch card as well,


