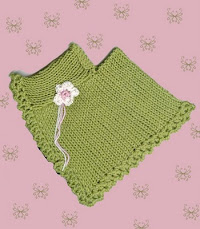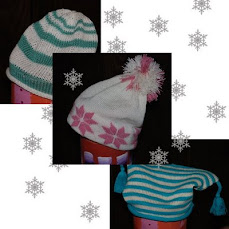
Here's an easy pattern for you to knit. I think I could have done a better job with the pocket, but oh well. Next time.
Machine: Standard Gauge 4.5 mm with ribber or garter carriage
Yarn: Tamm Bebe; three 3/8" buttons needed.
Gauge: at T 7 7 st x 10 r = 1”
Finished size: newborn
Cute boy or girl vest to be worn with a T shirt or onesie and jeans or pants. Super simple to make.
Yarn: Tamm Bebe; three 3/8" buttons needed.
Gauge: at T 7 7 st x 10 r = 1”
Finished size: newborn
Cute boy or girl vest to be worn with a T shirt or onesie and jeans or pants. Super simple to make.
DIRECTIONS
Pocket: Cast on 26 st. At T 7 knit 20 rows. Transfer for 2 x 2 rib. Knit 8 rows. Knit one loose row right to left. Transfer rib stitches to main bed. Chain cast off. Set aside.
Body Back: Reserve a 24" piece of yarn to bind off center neck stitches. Ewrap cast on for 2 x 2 rib (or whatever cast on you like) over 71 stitches. Knit 14 rows T 8/8. Transfer rib stitches to main bed, change to main carriage. I used a large tension so the rib wouldn’t pull in so much. RC 000. Change to T 7, Knit stockinette to RC 42. Bind off 5 stitches. RC 43 bind off 5 stitches. Decrease one stitch full fashioned both sides every 2 rows 6 X. On row 58 with 51 stitches left, transfer for 2 x 2 rib. Knit to RC 77. Transfer 27 center rib stitches to main bed and bind off around the gate pegs with the reserved yarn. Carefully pull the stitches off the gate pegs. Put left side in hold (stitches are still in rib pattern). Knit right strap, still in rib, to RC 82 and bind off these 12 stitches. Return left 12 strap stitches to work. Knit to RC 87. Make two button holes evenly spaced by transferring a rib stitch to main bed. Leave needle in work. Knit 5 more rows. Transfer stitches to main bed and bind off.
Body Front: Reserve a 24" piece of yarn for binding off neck stitches. Knit the same as the back except begin 4 x 4 rib at RC 51. Knit in rib to RC 66. Transfer 27 center st to main bed and bind off as you did the back. Put one strap to hold and knit other strap to RC 82. Bind off. Return other strap to work and knit to RC 82. Bind off.
FINISHING
Sew two small buttons on the strap that matches the tabbed strap. Seam the other shoulder. Mattress stitch the side seams. Steam lightly. I needed to steam flat the front neck rib a little. Sew on the patch pocket. Add a matching button if desired. Run in all yarn ends, of course.


2 comments:
Love your patterns, they are always easy but very nice looking. I'm always glad to find something new on your site. I do have a question on this pattern though...on the second pieces second strap you say to knit to row count 82 then to 82 again but shouldn't that be 87 like the first piece? It's either that or would have to set the row counter back since it's already on 82. Or did I miss something, which is always possible since I haven't actually started knitting this yet but am getting ready to, which is why I want to make sure so I don't get there and have a problem.
Thanks for any help you can give,
Mary Jo
At first I couldn't figure out which pattern you were referring to and then it dawned on me that I had named two different patterns "Baby Rib Warmer". It's the darker blue one that has the unclear directions. To clarify, on the front piece: I neglected to say that you should turn the row counter back to where the first strap starts. The straps on the front piece are the same length. On the back piece, after you complete the first strap, once again turn the rc back to where the first strap starts. But, the two straps are not the same length because you want a flap to do the button holes and have it overlap the front strap. The one strap on the back is bound off at rc 82 but the second strap goes to rc 92. Hope this now makes sense! Thanks for pointing this out, Mary Jo!
Post a Comment