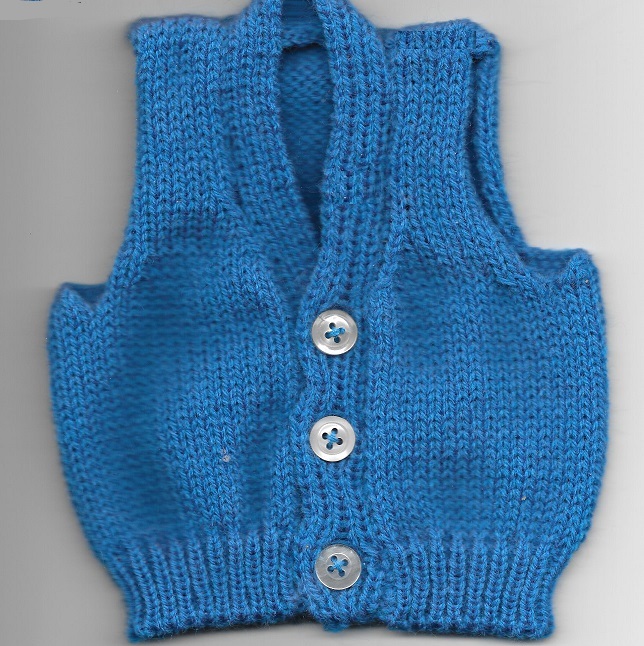
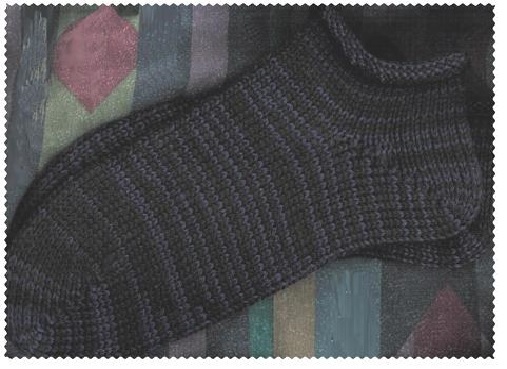
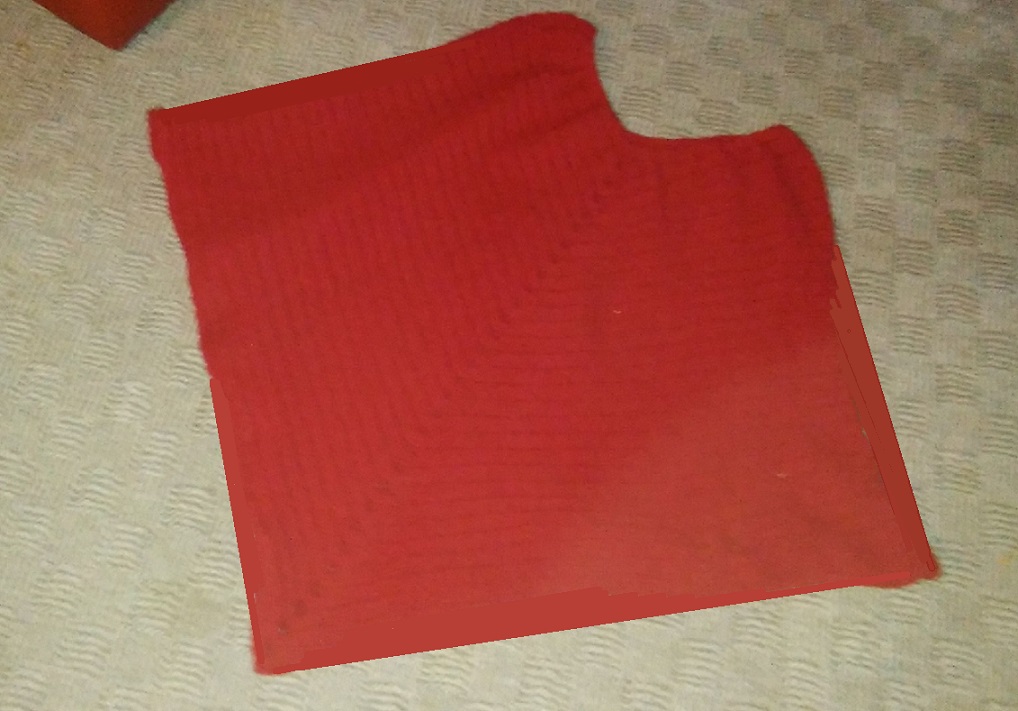
machine knitting midgauge standard bulky machknit knit machine-knit patterns

Thursday, June 24, 2021

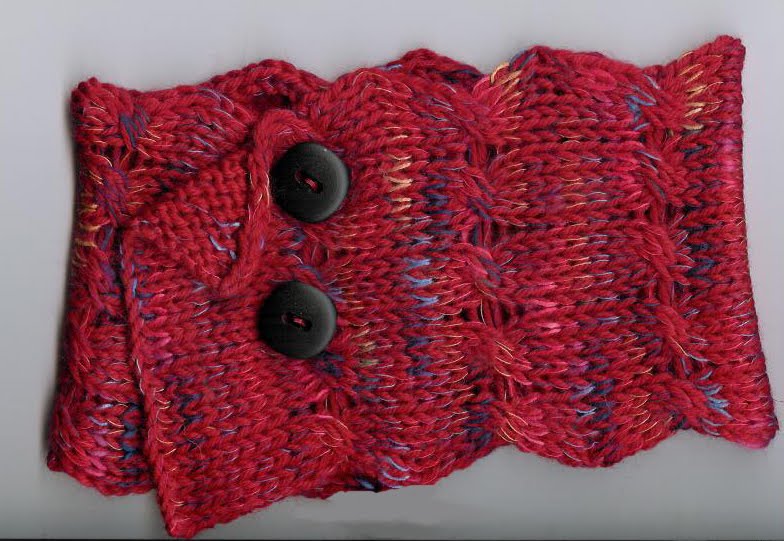
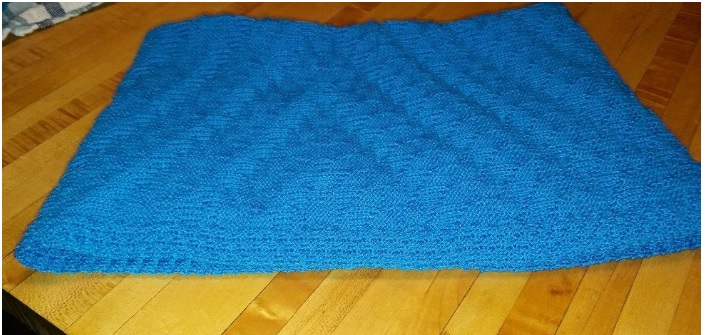
Water Colors Cowl Machine Knit Throwback

I'm having work done on my house---4 guys here.  I feel like I'm trapped doing nothing really until they leave.  So I decided to look over my patterns on my computer and  saw one---- "Oh yeah.  I liked how I did this one." and decided to post the directions. Whew! That was 10 years ago. Hope I explained it well enough because it's kind of an unusual way to knit. 

Water Colors Cowl


By Mar Heck ©2011

A unique looking cowl that can be knit on any gauge knitting machine.  No ribber is required.  The knitting is done in the round so that when you have reached the desired height, you bind off and there is no finishing required.  The technique can be adapted to scarves too.


Machine:  Any, no ribber required. 
Yarn:  Any that is interesting…Variegated or hand dyed yarn with long dye repeats works well.  One color is interesting too though.  The purl side and knit side have entirely different appearance.  You decide which you like better. Amount needed will vary according to size you make.   Yarn used in the size small sample cowl:  Serenity Garden Yarn from the Deborah Norville Collection.  One skein, 2.29 ounces/65 grams.  185 yards/ 169 meters.  Microfiber.  A larger cowl will require more yarn.
Gauge:  Not important, whatever works well on your machine with your chosen yarn.  You’ll need to decide how wide you want each strip to be.  On the standard gauge try 12 stitches to start.  IF you don’t like, rip out and change. The fewer the number of needles you cast on, the longer it will take to reach the desired size.  BUT it depends on the “look” you want.  With sock yarn and the standard gauge machine, I started with 12 stitches, T 6, and increased (loosened) the tension one dot each revolution to shape it a little. (Conversely, you could start loose and tighten as you go.  Doesn’t matter.) Or, don't bother to change the tension from start to finish.
Skill level:  Beginner with some experience
Finished size:  For the cowl, suggested sizes are Small= 20” around and 9” tall; medium =22” around and 10” tall; large =24” around and 12” tall.  However, you can make it any size you desire. 

TIPS FOR THIS TECHNIQUE  ~  READ FIRST
·     *  This technique involves knitting on the bias by decreasing on the left and increasing on the right.  When the desired width is achieved (the width you want to go around the neck), you start to attach loops beginning at the start of the strip and continuing around, making a tube.  When deciding on the width to go around the neck, add 2+” because you lose an inch or so on each end as the first and last triangles are formed.
·      *You will need to make sure you hang each loop only once and don’t skip any loops or you’ll change the circumference of the tube and interrupt the lacey hole pattern!
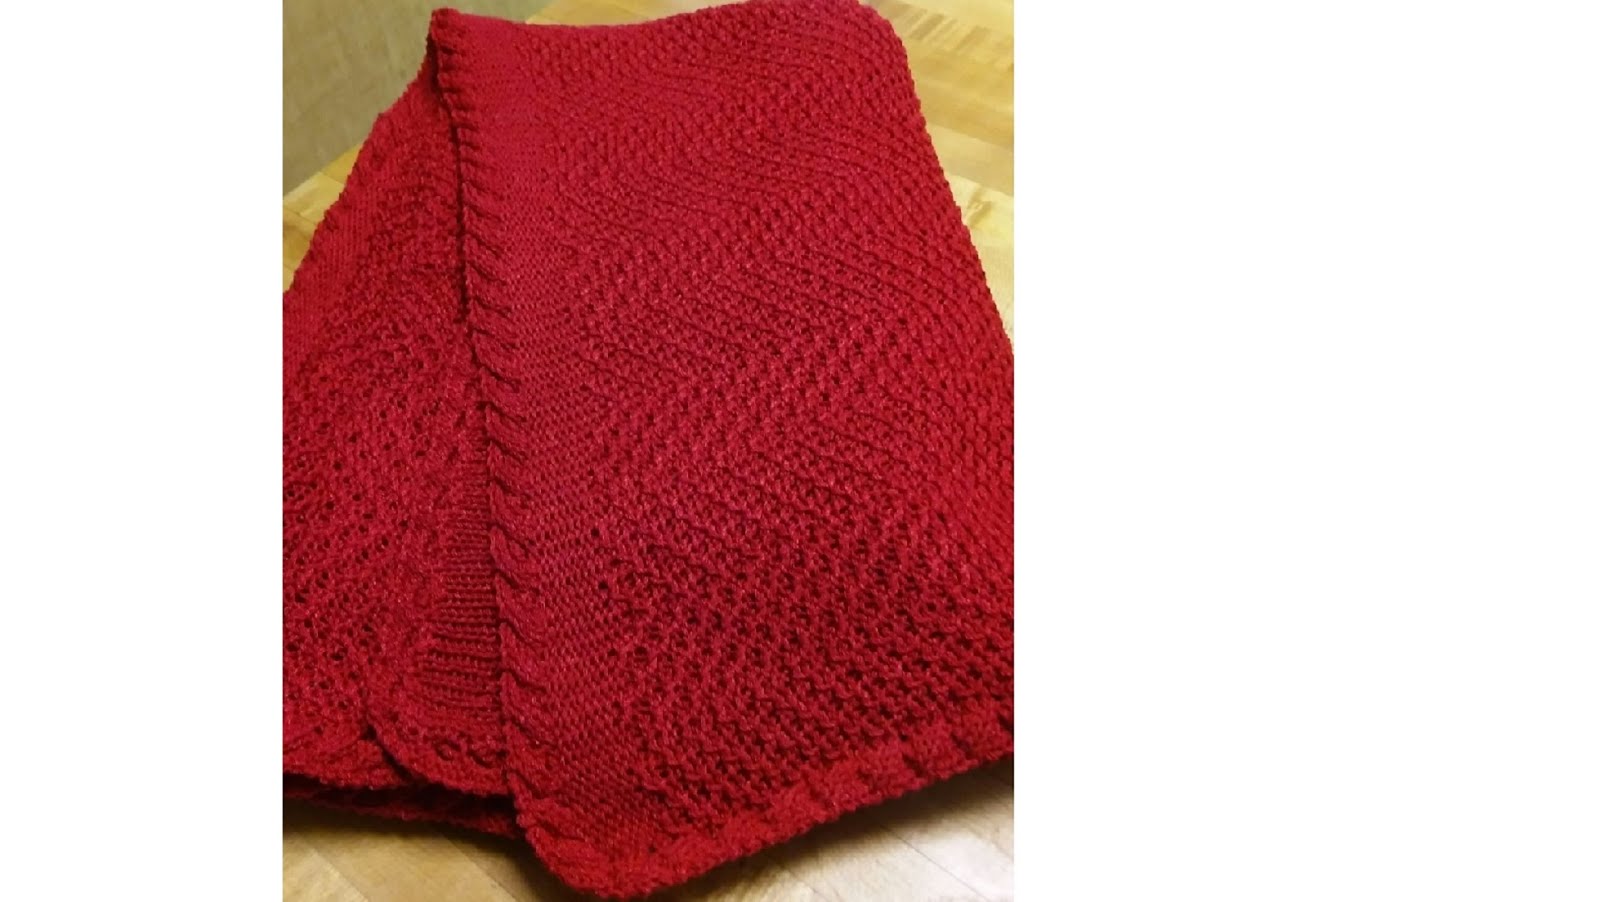
·      *With stockinette stitch as the public side, the increases make a nice little decorative hole that spirals around the thing and the doubled stitch makes a nice chain edge, also decorative.  With the purl side as the public side, the fabric has a woven look to it. (See photos at the end of the pattern.)
·      ( Move claw weights up frequently, especially on the right side since it is hanging at a slightly different angle. Or, if your strip is narrow enough, hang on with one hand while running the carriage with the other.
·     * You’ll be knitting across the needle bed, starting at the left side, and will most likely need to remove the knitting on waste yarn when you get to the right side.  Hang the stitches on the left side again and remove waste yarn.  Or, use a garter bar.
·   *   I like to pull the needles all the way out when I increase and decrease so that if interrupted I can see at a glance where I am in the pattern when I return.
·      *Don’t forget to loosen (or tighten) the tension as you complete a revolution if you have decided to construct your cowl this way.  The beginning tab indicates where you should do this. (If knitting a scarf, keep tension the same throughout.)
·     * If your ribber bed is still attached, it’s likely you’ll be resting your left hand on it.  It’s a good idea to put a ribber cover on or hang a protective piece of fabric or your hand will get really sore!  It’s actually easier to see what you’re doing if you remove your ribber.
DIRECTIONS
1.  Knit the first round on the bias, measuring to obtain the width you want to go around your neck or two times the width of your scarf + an inch or two for both (because you lose width in the beginning and ending triangles).  To knit this strip on the bias, start out by ewrapping your chosen number of N on the left side of the needle bed.  You may crochet cast on if you prefer.  Knit 2 rows. (It’s hard to knit at first so bring all N out before knitting to make sure the stitches knit off, hang on with your hand for weight or attach claw weights.)
* Decrease one stitch on the left by putting the second to the end stitch on the left end needle and then move the doubled stitch to the right one needle.   Put the emptied needle out of work. Increase one stitch on the right by pulling a needle all the way out.  Knit two rows.*  Repeat from * to * for desired length. You will continue with the same number of stitches throughout.  If you find suddenly that you have less or more stitches than you started with, you either forgot to decrease or increase.  You should rip back to where there are the correct number of stitches.  L  
This is one time you can measure your strip while it’s on the machine.  You knit this single strip just once.
2.  Attach and knit as you go to make a spiral.  Think of how the cardboard on many toilet paper rolls are constructed. You’ll be knitting around it making a spiral.  As the knitting is facing you, you’ll be knitting the inside of the tube.  (The toilet roll is given to just help you visualize this.)
 Bring the beginning end of the strip toward the needle bed with the knit side facing you, curling it around so that you can identify the first loop you made in #1.  From front to back, you will be putting a loop from the beginning of the strip onto the left needle.  You should be able to see that knit stitches of the strip will be on top of or next to knit stitches and purl on top of or next to purl.  Make sure you haven’t twisted the strip.  Check twice!
 This is the sequence:  ^Decrease one stitch on the left by putting the second to the end stitch on the left end needle and then move the doubled stitch to the right one needle.  Hang a loop from the strip on the first needle on the left.  (3 stitches on that needle now.) Increase one stitch on the right by pulling a needle all the way out.  Knit two rows.^  Repeat from ^ to ^ continuing to hang the next loop as you move around the tube.  The simple increases on the right side form the loops that you will eventually hang.  There is no beginning or end to the row, you just continue on around your tube.
Picking up stitches:  On the picture above, the red represents a stitch previously picked up.  The next stitch (loop)  to be picked up and hung is green.  It lies horizontally, whereas the stitch that was picked up previously is vertical and stretched out.  You’ll be tempted to pick up the red one.  Don’t do it!  J
Now decide how long you want the cowl to be from chest to chin or how long you want the scarf to be.  Keep going until you like the size or run out of yarn. 
Finish:  Bind off around the gate pegs, weave in yarn ends.  Fold over the beginning tab or tack down.   
This technique done as a scarf:
Knit side as right side pictured on the left, doubled stitches make a decorative ridge. Compare to purl side as right side pictured on the right.  Stitches look woven.  The lace holes seem to show up better on the purl side.  You actually do not have to decide until the cowl is done.
Once again, hope I explained well enough.  It's not hard to knit, just hard to explain.

Monday, June 14, 2021

Premie Standard Gauge Machine Knit Ballet Sweater


(Midgauge Baby Ballet can be found on the right side of the blog.  This one is a little shorter.)

 I'm in the process of knitting baby stuff to donate.  This is a super easy one for premies and if it weren't for all the yarn ends would go super fast.  Some suggestions for those pesky things below.

Skill Level:  Beginner 

Machine:  Standard 4.5 mm gauge

                        No ribber needed

Yarn:  Any that knits close to gauge.  My yarn is pretty skinny.

Gauge:  8 stitches and 12 rows to one inch at T7                                                                                                                

            If you want to knit this but your yarn obtains a different gauge, you can do the math.  First, knit a gauge swatch with your yarn.

            Formula:  Pattern’s rows or stitches and DIVIDE them by this pattern’s gauge, then take this figure TIMES the NEW gauge you obtained    (do the same for stitches and rows)


            EXAMPLE

            stitches in the pattern back 44 divided by 8 stitches per inch =5.5

            your gauge ex 4st to an inch x 5.5 = 22 st

            So instead of casting on 44 st, cast on 22

In some cases you will want to round up or down. For increases and decreases, look at the end of the piece and spread out increases or decreases to get to the correct amount.  Fairly easy on this tiny garment, a little trickier on large ones.


Finished size (Just one size)  width of back 5.5”, length  4.5”, sleeve 3.0”  (can be rolled up to make a  little cuff) 


Here are the DAK schematics for the pattern:


            (make one, reverse one)


This is a Designaknit produced pattern.  How to read:

The format is Row # --Decrease or increase so many stitches --every so many rows --So many times.

Example:  On the front, on row 28, decrease one stitch every two rows twice, so you decrease one stitch on row 28, knit 2 rows and decrease again one stitch on row 30.  If it helps, you can write down the in-between row decreases.

Hints – Unfortunately there are a lot of ends to work in.  You can either wait until finishing and work them in or try to weave them in as you go by hanging the end over every other needle before you knit the row.  You can also save some ends by leaving a long one at the bottom of the piece to seam with.  RC stands for row count.

FF means full fashioned.  This is why the front edges don’t roll.  To decrease, move the 4th stitch from the edge to the 3rd, the move all 3 stitches in to fill the empty needle.  To increase, move 3 stitches out one needle, then take the purl bump on an adjacent stitch and hang it on the empty needle so that there is no hole.

DIRECTIONS IN WORDS

*****For all pieces, do the 4 row rolled hem at a tighter tension (T3) then change to T7 and RC000 to start the schematic.*****

Back

With waste yarn, cast on 44 stitches.  Knit several rows at looser tension.

With main yarn ewrap left to right.  Change to T 3.  Knit 4 rows (might be a little tight). 

RC 000 Change to T 7 and knit to RC  29.  Bind off 3 stitches,  knit one row.

On row 30 bind off 3 stitches.  Knit to RC 54.  Take off these stitches in 3 parts. Put all stitches in hold, machine to hold.

For the first shoulder take off 12 stitches on several rows of waste yarn.  Remove from machine.

Bind off the next 30 stitches, decreasing one stitch on the 10th and 20th needle. Remove from machine.

Take machine off hold and take off the last 12 stitches on several rows of waste yarn.  Remove from machine.


Fronts:  Make one and reverse one.

With waste yarn, cast on 42 stitches.  Knit several rows at looser tension.

With main yarn ewrap left to right.  Change to T 3.  Knit 4 rows (might be a little tight). 

RC 000 Change to T 7 and follow the schematics using full fashioned decreases.  On row 30 for right side and 29 for left side (next to carriage) bind off 3 stitches and continue with the other side ff decreases. Knit to RC 54 and take the 12 st off on waste yarn.

Sleeves

With waste yarn, cast on 28 stitches.  Knit several rows at looser tension.

With main yarn ewrap left to right.  Change to T 3.  Knit 4 rows (might be a little tight). 

RC 000 Change to T 7 and knit to RC  17. Increase ff  one stitch both sides.  Knit to RC 34.  Increase ff one stitch both sides.  You now have 32 stitches.  Knit to RC 35 and take off on several rows of waste yarn.

Finishing

Join the shoulder stitches.  Put your carriage on the left.  With the right side of the back piece facing you, hang one set of 12 shoulder stitches.  With the wrong side of one matching front, hang the 12 shoulder stitches. Pull  the needles out and push the knitting to the back so that the stitches knit off properly.  Knit one row and bind off.  (I like to bind off around gate pegs to get the bind offs even.)

Do the same for the other shoulder.


Join the sleeves.  Put your carriage on the left.  With the right side of one sleeve facing you, hang the 32 stitches.  If you hang 16 on the left of zero and 16 on the right, it’s easier to get the seam to come out right.  This is a little tricky.  With the wrong side of the sweater facing you, hang the shoulder seam at zero.  With a 3 prong tool to measure out nicely, pick up  whole stitches from the body.  Skip a stitch of the garment and hang the next 3 stitches.  Try really hard to stick your tool in the same ditch every time.   Looks wonky if you don’t.                                                             

Continue picking up until all sleeve stitches have been attached to the body.  Now take a ruler and measure from the bottom of the sweater to the underarm.  Over on the other side, begin hanging stitches at the same place so that the front and back are not off kilter.  Fill in the stitches until all sleeve stitches are loaded up.


Pull all needles out and push knitting back so that the stitches knit off properly.  Knit one row left to right and bind off.

Do the same on the other side.

TIES  -  You need 4

Pick up 3 stitches at a corner of the garment.  Hang a wt on the garment.  At T 6 Knit 60 rows.  If you want to knit an I cord, push in one part button and knit 120 rows.  Just knitting the tie plain causes it to roll and it’s not too distinguishable from an I cord and goes faster.  Bind off by putting the two outer stitches on the center, cut the yarn and pull through to bind off/ fasten off.

Make 3 more , one at each corner.

SEAM

Mattress stitch the sides and the sleeves.  Run in yarn ends. Wash in detergent that doesn’t have perfume.

Steam a little if you think it’s necessary.

Donate to your favorite hospital or charity.  Might want to put your donation in a plastic bag to keep it clean.


Now I need to come up with a quick boys' pattern.


Sunday, April 25, 2021

Classyhund


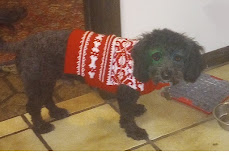
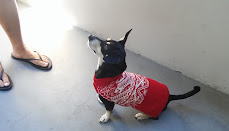
Once again, Ollie is the recipient of my sewing.  Saw the instructions on Youtube for making the bow ties for dogs.  Actually, I saw several examples and picked one that seemed to be easiest.  If you want to make one, check out those videos. Good use of left over scraps of fabric.   I lined the fabric with iron-on stabilizer so it is stiff and stays true to form.   It attaches to his collar so stays on pretty well.

Amazing that he doesn't mind having a dresser.  I would say he's the best dressed dawg in the neighborhood.


Thursday, April 15, 2021

Machine Knit Cotton Hot Pads


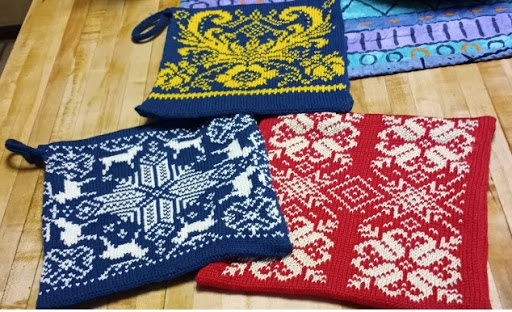
I am on a mission to use up some of my huge cotton stash.  Have knit a lot of dishcloths, but thought it would be fun to be a little more creative---and make something useful.  I now have a cache of little gifts on hand.

Here’s how I have done them:

 *Used all cotton yarn and my standard gauge Brother 970 machine.  My designs are approx. a gauge of 7 st and 10 r to the inch, but it doesn’t matter. Mine end up to be between 7 and 9 inches wide by approximately the same height. You could use wool---haven’t tried because I am trying to use up the cotton.  You could also do these with a punch card machine or knit them plain.  But , where’s the fun in plain???

*Start with several rows of waste yarn with a quick cast on.  Engage the design with your electronics, then just knit not doing a permanent cast on with main yarn.  I tried to be sure to do the design so that the carriage ends at the right side when adding contrast yarn. The designs are knit in one longish rectangle.  Might want to switch between KC I and KC II for some rows so you don’t have a contrast yarn going all the way across the knitting for no good reason.  When the design is done, the bottom row is seamed to the top row.
* Some of your designs may have long floats.  Not to worry.  They add to the insulation factor.  I had no trouble with the stitches not conforming to one another or splitting between stitches, but if you do have this issue you can latch up the long float to a matching color. No one sees the inside.

* You may wonder why you need more rows in the middle of a design when both bottom and top halves are the same.  I found out the hard way that you need about 4 rows to go around the “bend” when you seam bottom to top or it’s off.  If you only want to do the bottom half of the design, that’s fine.  Just remember to do the same rows as the design and add 4 extra rows.  Example—the design is 86 rows.  Knit the 86, do 4 rows plain, knit 86 rows plain.

*Adding a loop in the corner is optional.  I did about 6 stitches x 50-60 rows, plain knitting since it curls like I cord anyway.  Looks nice if you hang the front corner with wrong side facing, knit the loop, then pick up stitches from the back side, knit a row and bind off.  When you seam the sides you can hide the purl bumps.

* To seam bottom to top, you have two options:

              -The Perfectionist option is to take the piece off on waste yarn when the design is complete, turn it so the right side is facing you, hang bottom to top stitches.  Then bind off. The seam will be on the inside and not show.

              -The quicker, easier way is to hang the beginning stitches onto the top stitches when the piece is complete, then bind off around the gate pegs.  You will have a seam on the right side.  I think it looks ok. On one I ran out of main yarn right when I needed ONE MORE ROW!  So I used the contrast yarn to bind off.  So one row was main and one contrast.  I actually liked it--- it created a decorative stitch.

* Options for insulation for the middle of the hot pad--- I have used layers of insulbright, >1 layer of flannel cotton fabric (laundered first),  knitted squares of cotton yarn I didn’t like, old cotton cut to size swatches, machine sewed around edges so they wouldn’t unravel, cotton quilting batting, old clean towels.  After completing the knitting, I turned it wrong side out, then tacked the lining to the outer in several places, so it wouldn’t shift.  I used regular matching cotton sewing thread. Doesn’t show if you take tiny stitches.  When you are sure the lining won’t shift, turn right side out.

 * Finally, remove waste yarn and mattress stitch the side seams by hand with right side showing.


I used patterns that I have had in DAK for ages, some are built-in patterns, some are purchased—lots of Dale of Norway patterns.

Some examples-----------Have knitted abt 15 so far.  Addictive. Can you tell I love Norwegian designs??? 


I plan to tell a recipient to hand wash cold, dry flat.  I don't want them (the hotpads) to shrink and pucker up. 😊

My absolute favorite is the rosemaling design.  It was a free chart on the Dale of Norway site.  I converted the chart to a DAK file.  If you would like to have it, write to me.  I don't know how to attach a file here with Blogger.  If someone knows how, would like to be enlightened.

Wednesday, March 10, 2021

Cotton Pullover for Grandson

Finally got over my funk a little bit and did some knitting.  Never contracted the carona virus and did get both of my Pfizer vaccinations.  Dont' know what has been the problem.  Hope to shape up and knit and post some more stuff.  As always the picture doesn't do it justice.  Really does look better in person. Weird dark shadowy rainy day today affecting the photo.  The armhole decreases really are the same.

Just in case you have a 8-9-10 year old to knit for, here is a pattern  you could use. Write to me if you can use the Designaknit file and I'll email it to you.  Otherwise, you can follow the directions below.

Pullover for Luca age 9


Midgauge (SR 860 + ribber)

 by Mar Heck  3-9-21

Notes:

*  Used Conshohocken cotton yarn---has a core that is roving-like with a stronger thread wrapped around.  Shrinks terribly so I knit two gigantic rectangles, guessed that it would be enough yarn to knit the sweater, washed in hot water and dried in dryer.  Then re-wound onto cones.  Should be sufficiently pre-shrunk.  Had to clean a lot of fluff out of the dryer!!! It’s really soft, one positive thing to say about it.

* Sweater is a size 10 as measured by store-bought boys’ sweater.

* Gauge for main pieces is 5 st and 6 rows to one inch at T6

* T 3/3 for ribbing. 

^sleeves 22 rows

^ front and back bottom ribbing 8 rows

^ neck 10 rows

Transferred rib stitches to main bed and knit right to left with one row T 8 for loop through loop bind off.


* DAK shape file is for the pieces not including ribbing.


* Start with waste yarn and ravel cord for all 4 pieces.  When done, turn the piece upside down and do the ribbing.  Bind off for the cotton yarn was nicer than the cast on.  First used a bind off around the gate pegs and it flared too much.  Loop through loop looks better.


*  Neck is big because L wants to wear a cotton T shirt underneath and doesn’t like tight necks.  Can be adjusted.


* Neck was done with FF decreases one side at a time rather than short rowing.  First time doing neck this way and I like it.  Easier to do with this machine than short rowing.  Needles kept popping into work when short rowing, frustrating the heck out of me.  Blue air.  Maybe need a new sponge bar???????


* This yarn is hard to work with since it has NO stretch.  Next time will use an easier-to-work- with yarn.


Now….what to do with all this extra pre-shrunk yarn?????


Sorry the numbers are a bit blurry.  I can't seem to copy them so they show up well.