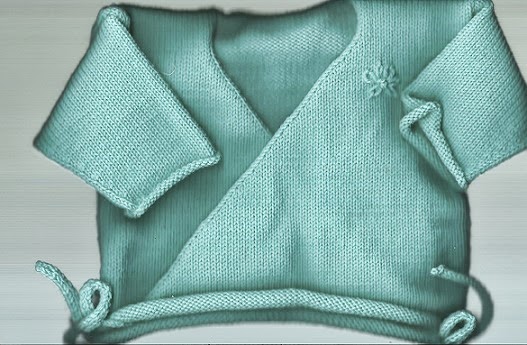
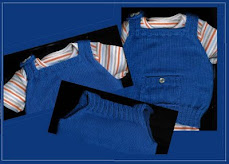
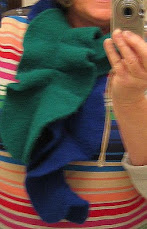
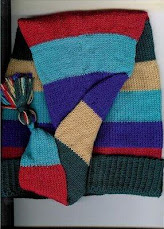
I just finished this cotton hoodie for my grandson's 7th birthday which is in October. I'm lucky enough to be able to fly to CA to help him celebrate. Can't believe how fast these 7 years have flown by. I almost wish he would not get any older, but I realize that's a bad wish.
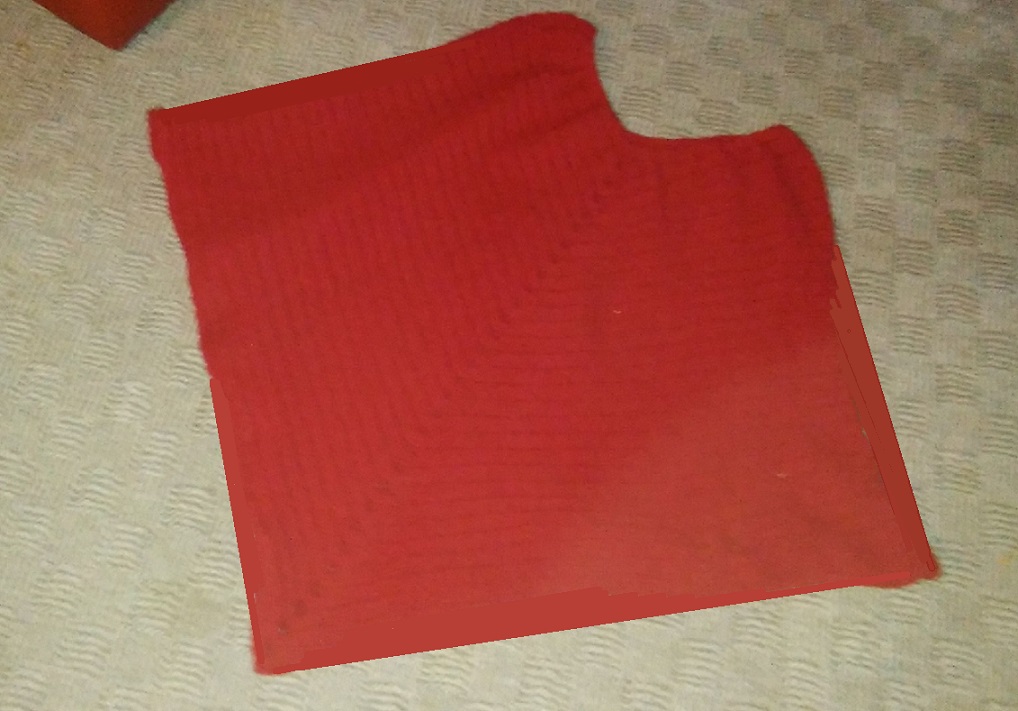
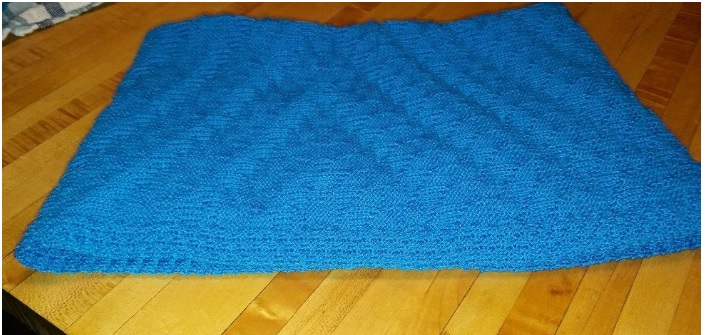
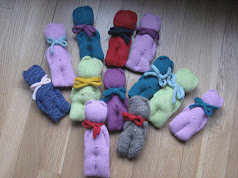
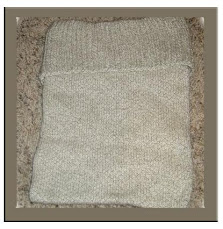
I've had some cones of Conshohocken cotton on hand for a long time. It's nice yarn, but I knit a sweater for a nephew out of it before and it shrank terribly. So this time, I knit a giant rectangle, abused it as much as possible in the washer and dryer to pre-shrink it. Because it's a cotton core with some other fiber wrapped around it, not plied, a lot of the cotton came off in the dryer. Was still nice though, soft and fluffy. No problems rewinding it.
I used DAK to come up with a pattern for the midgauge LK 150. I don't know about you, but I have a hard time judging what the sizes for kids are in DAK. Have to find measurements for the typical American kid and try to match it up with DAK. Nothing really matches but I think I got close to a size 8. It's a tad big and he's a skinny kid, but he'll grow into it. Did a dropped shoulder in standard garment styling then took it into pattern drafting to make adjustments. Made a hood, a placket for the front and changed the armhole shaping a la Elizabeth Zimmerman.
The placket turned out really nice, although the picture doesn't do it justice.
Some take-aways you might get out of this are as follows. First, I made the armhole shapings of the front and back larger. Instead of binding off 5 stitches, I bound off 9. That's the Elizabeth Zimmerman thing as in her Tomten jacket, if you are familiar with that pattern. This helps reduce the bulk in the underarm and shoulder. This 1 1/2 inches were then added to the sleeve length.
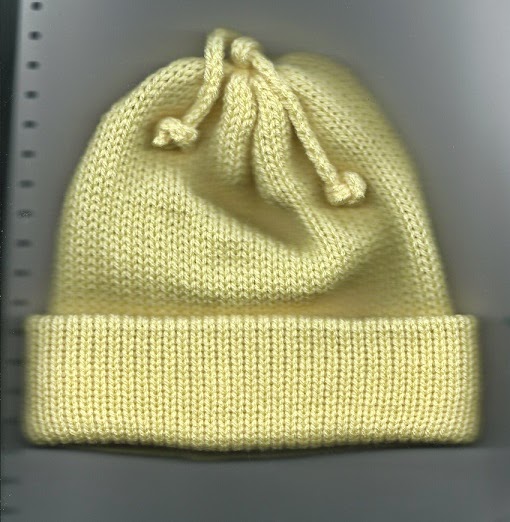
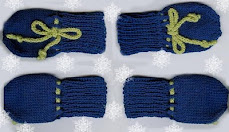
For the cord that goes through the front of the hood, I cast on 5 stitches and just knit the length to go around the face and enough to hang down each side. I used to always knit an I cord, but this goes twice as fast and looks just as nice as an I cord because the edges automatically curl in on themselves.
My hems are different than I usually do. I started all pieces with waste yarn and started right in with the main yarn. To make the hems, I crochet cast on over the number of needles in the piece minus a few stitches. Then I pushed these stitches back and hung the bottom of the piece into the hooks of the needles, wrong side facing and doubling up as needed. Using a straight edge (the mean cast on comb) I pushed the hung stitches through the crocheted ones. You know they are through ok when you hear a little popping noise. Knit the first half of the hem at garment tension. Then I tightened the tension one whole number for the second half of the hem minus one row, hung the first hem stitches, hand knit one really loose row and did a loop through loop bind off. The hem lies wonderfully flat and the crochet cast on makes a nice decorative line on the front of the garment.

The other thing I did was make a little vent on each side of the body. It was easy in that I just stopped hemming when I got to the doubled hem and hand stitched the sides of the vent closed.
I thought this sweater took longer than usual, but it was because I had a gazillion yarn ends to work in.
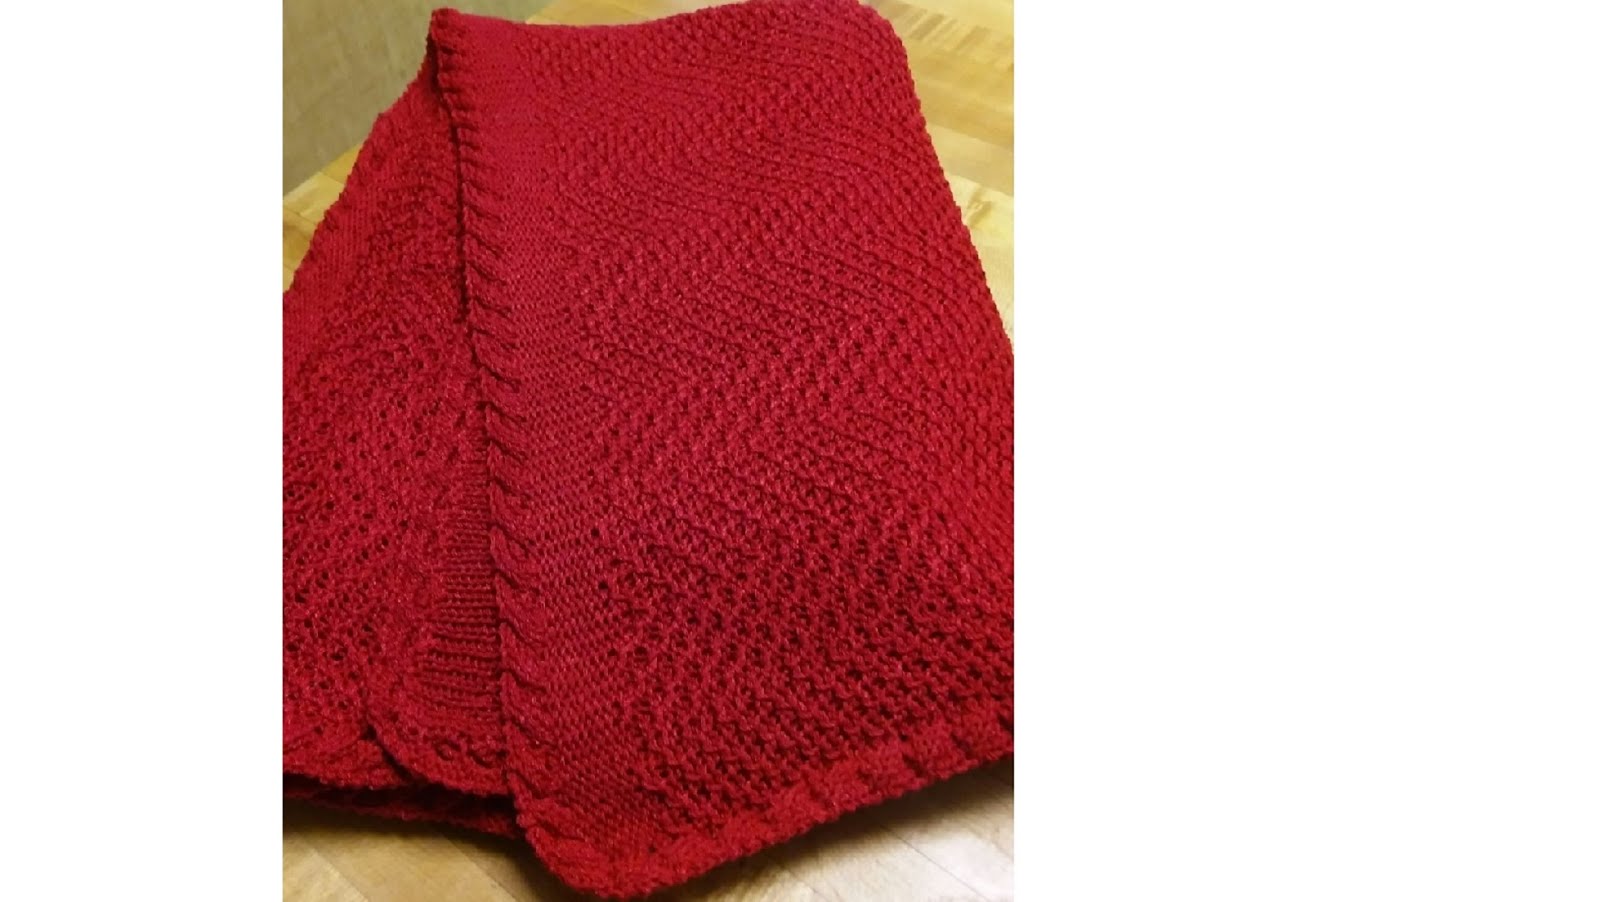
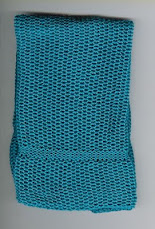
The pictures don't show details very well because of the design of the yarn, but the design of the yarn also hides any irregularities that might be present. Irregularities ? Me? no way.
You know how lots of times your knitting doesn't come out exactly as you would have liked? This time, which is actually rare for me, I had no "regrets" and wouldn't have done anything differently.
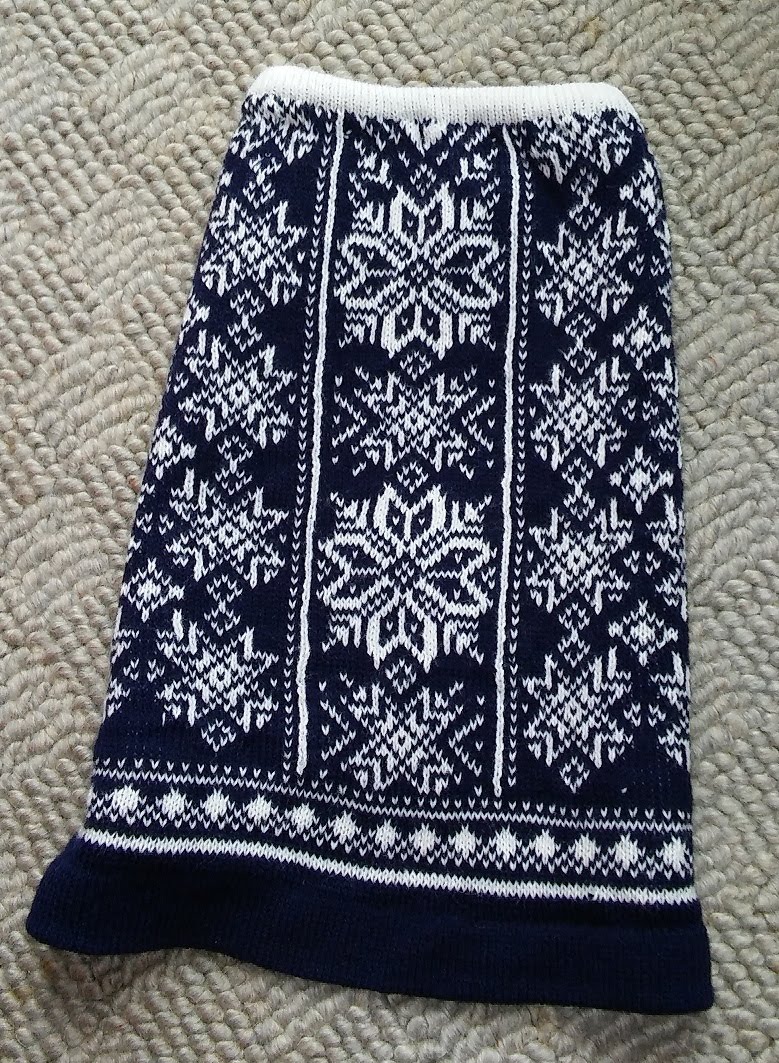
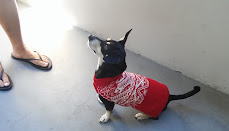
I also knit a saddle shoulder sweater for him as practice for a class another woman and I are teaching to my guild. I couldn't bear to part with the swatch, so I made a doggie sweater out of it to match. Once I take some pictures, I'll do another blog post.
Happy knitting!